Introduction
This
is game 23 in replaying the scenarios from the Briton
Publishers Operation Jupiter skirmish scenario book.
Links to previous games are on this blog page.
Rules used
I
am using a variant of my 4x3 grid rules without grids and sections are 3 person
units rather than 1 base. I have changed them a little and now if within 3”
count as fighting in melee but all have cover modifiers. Also activation is now
(mainly) 2 section/vehicle per side per player turn.
Scenario
The British player has eight turns to capture the two objective buildings.
Troops
British

1
Company HQ
3 figures
2
Reduced platoons
1 platoon HQ (1 figure)
1 2" mortar
2 Sections (3 figures each)
1
Churchill VII
1
Achilles M10
British
are Green (this is to simulate the demoralisation of the troops)
Germans

1
Zug
1 Zug HQ (1 figure)
2 Gruppe (3 figures each)
1
MG42 team
1
PzKpfwIV
Germans are all regular.
Deployment
 |
| Deployment |
The Germans cannot really defend both objective buildings as it would split the force too much (there is a road to cross between them that would be deadly). And the British have quite a few paths they can take and cannot cover them all. Although they could support one another, the building on the cross roads is a bit isolated. Have gone with defending the rear objective building with a Gruppe at the T-intersection to cover both roads. The MMG is set up with a good field of fire and the PanzerIV is at the rear to provide support for attacks on infantry.
The
British have a number of paths – downs the road, down the sides and though the
woods. The key is that both objective
buildings have to be taken so need to focus on the rear one and hopefully the
forward one can be taken after. So will
come up the road with the tanks and two forces of infantry (a platoon each)
will leap frog the buildings on either side.
The force for the rear objective building can also use the woods. The force on the other side can provide
support. The British will need to be
aggressive to get both building in 8 turns.
Game
The British move on 4 infantry sections on either side of the road. The question for the Germans is do they fire now or wait until they get closer or wait to see where the other unit’s come on? Rolled for it and they do not fire.
 |
| British first units enter. |
The British continue to enter more forces and advance. The Churchill enters on the road and spots the PanzerIV. Needs a 6 to hit. Rolls a 6. A 5-6 will cause damage. Rolls a 6. PanzerIV suppressed and damaged.
 |
| The state of play. All but the British Achilles in on the table. |
The German’s fail to unsuppress the PanzerIV. The MG42 fires on the infantry in the building at the t-intersection and suppress 2 figures. The British get a section as reinforcements (event) but this also limits their activations to 2. The British section in the woods moves to the edge and spot the German Gruppe in the building and suppresses one. The Germans fire back and suppress two. Another British section then moves into the adjacent building, fires and the rest of the Gruppe is suppressed. The Germans fall back as they are all suppressed and in close range of unsuppressed British units.
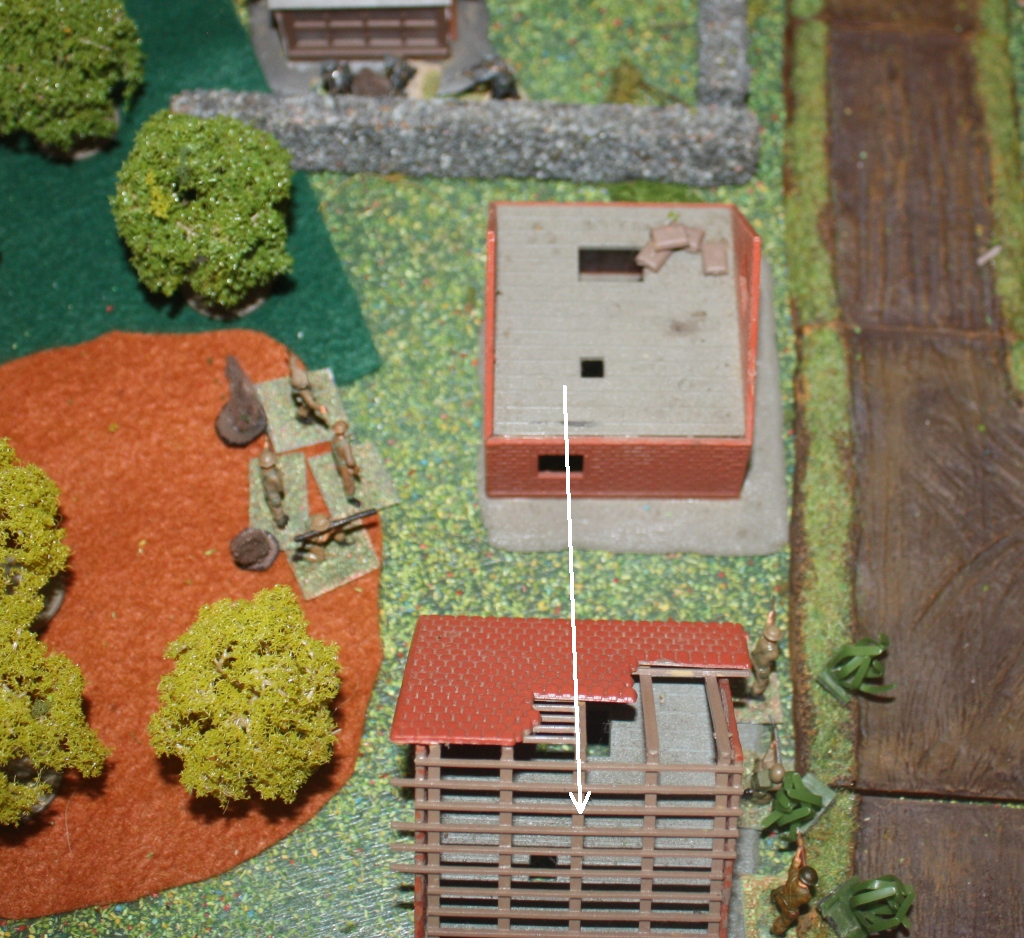
 |
| Infantry first contact! |
The Germans unsuppress two of the three figures in the retreating Gruppe. The MG42 fires on the section on the woods and suppresses another figure.
The British continue to push forwards rather than unsuppress units. All the British are Green so will be harder to unsuppress as well. The British move into the building recently vacated by the Germans and fire on the MG42 team. Two suppressions and the MG retreats into the objective building. The Germans behind the wall are within 3 so fire and KO one figure, suppress another. Move movement for rear sections and try to rally the section in the woods but only one figure is good again, leaving two still suppressed.
 |
| The British push forward |
The German behind the wall fire on the British in the building, cause another suppression and the British are forced to retreat.
 |
The British are forced to retreat from one of the main buildings. |
The MG42 team unsuppress. The British are halfway through the time limit and forces everywhere are suppressed! One section moves into the objective ruins. So half the objectives taken. Time to bring on the Achilles and so the tanks can support the infantry. First need to remove the PanzerIV threat but the Achilles fails to hit. The British attempt to unsuppress and do manage to unsuppress two but rout another. Still lots of suppression for the British.
 |
| The British are consolidating. The Achilles is on at last. |
The Germans focus on rallying and all on their side are unsuppressed now. The British Achilles fires at the PanzerIV and misses. The Churchill fires and manages to damage it again. The PanzerIV is destroyed. This will free up the tanks to provide infantry support for the last two turns. The British company HQ move into a building and fire on the Germans behind the wall. One suppression. Return fire sees one British figure suppressed. The British section in the other objective building move to the wall, fire on the Gruppe in the building and suppress them all (excellent dice rolling)! They have to retreat as they are within 3 of unsuppressed British. There is nowhere to retreat but into the woods. So close to retreating off the table. Wow. The British were very lucky to cause that. The MG42 in the building can return fire as within 3”. They suppress 3 figures. However, as the section contains a leader, there are 4 figures in the group and so they do not need to retreat.
 |
| The tide turns towards the British. |
The German MG fires on the section behind the wall and forces them to retreat. The Germans behind the wall fire at the building and cause another suppression. The suppressed unit tries to rally but is unsuccessful.
 |
| The German manage to keep the British at bay. |
The British are desperate, two more turns to go. The Building section fires on the Germans behind the wall and suppress none, the British in the woods fire at them as well and suppress one. The Germans retaliate against the building and cause another suppression and the British are forced to retreat. The British move up the Churchill and manage to suppress the MG42 in the building. All units in the second objective are rallied (great rolls!) – ready to charge next turn.
 |
| The British attempt to cause some damage but are still not in a great position. |
The Germans get three activations. Move a figure back into the objective building to defend it, try and unsuppress the MG and fail. Unsuppress the unit in the woods – all unsuppressed. May be useful for a counterattack.
Last turn for the British. Two figures from the woods move up to the wall and attack the German figure there. KO! The Churchill fires at the objective building and supresses the figure there. The MG42 and the figure need to retreat as they are within range of the unsuppressed British at the wall. They retreat into the woods. I will allow the section in the second objective to charge into the main objective building.
 |
| The British take the second objective |
Ok, the final turn for the Germans. The four figure unit in the woods charge into the objective building to try and retake it. The British also have four figures, the Germans get to fire first but the British have the advantage of not moving. The Germans roll terribly and score one suppression. The British respond and score three suppressions. Not enough to cause the Germans to retreat.
 |
| The Germans counter-attack |
The main objective building is in dispute with both sides occupying it. The British lose at they do not solely occupy both building. So close!
 |
| End |
Verdict
That was such a nail-biter of a game. Amazing
how much fun you can have on a small table.
The British got whittled away and just did not have time to rally enough
units. The Germans however could not get
enough hits to stop the British entirely.
The amount of British attackers show though as they managed to keep
coming back. And at the end they were so
close to winning.


.jpg)


