This is game 26 in play testing my ancient rules by replaying historical battles. The latest version of ‘Ancient Battlelines Clash’ is on its own blog page. I am play testing the rules by replaying all the Peter Sides scenarios from his Historical Battles books. ABC is designed to finish in under an hour on a 2'x2' table.
Battle of Gabiene
In the saga of the Successor Wars, Eumenes confronts Antigonos One-Eye in Media. This was the second of two battles (the first being Paraitakene) between these two Diadochi and the outcome determined who controlled the Eastern satraps.
There is not much on the internet on this battle but here is the link to Wikipedia:
Wikipedia article
I also used Lost Battles (Sabin)
Scenario changes
Reduced by about a half the troops due to my smaller sized table. I roughly halved the Spear or Pike units as the scenario units are for DBx that assumes in this case that the units will be rear supported, not the case with my rules.
Troops
Antigonos
 |
| The Antigoids |
1 Hoplite, battle infantry, phalanx, some protection
4 Thracians, aux infantry
4 Psiloi, skirmish infantry, short missile
1 Elephant, elephant
2 Companions, aux cavalry, high fortitude, disciplined
1 Heavy Cavalry, aux cavalry
1 Light Cavalry, skirmish cavalry, short missile
1 General, +1 command ability, with Companions
Breakpoint: 11
Eumenes
 |
| Eumeneans |
1 Silver Shields, battle infantry, phalanx, high fortitude
2 Phalangites, battle infantry, phalanx
4 Peltasts, aux infantry
3 Psiloi, skirmish infantry, short missile
1 Guard cavalry, aux cavalry, high fortitude, disciplined
1 Heavy Cavalry, aux cavalry
1 Light Cavalry, skirmish cavalry, short missile
2 Elephants, elephant
1 General,, +1 command ability, with Guards
1 camp
Breakpoint: 12
Deployment
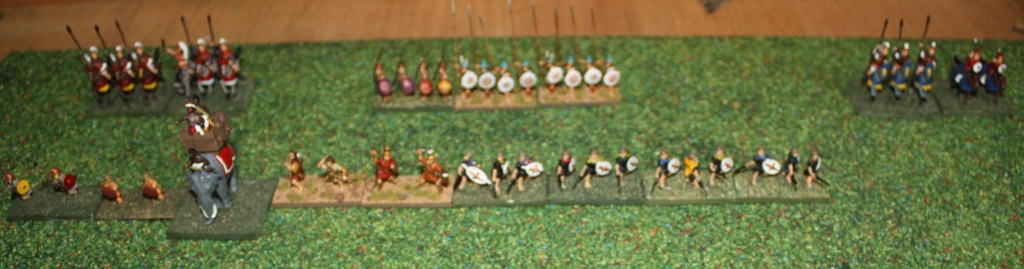
Deployment:

Antigonos advances along the line. On the left flank, the light cavalry successfully splits from the heavy cavalry to attempt to flank the defending Eumenean heavy cavalry and get the baggage. The Eumenean right flank heavy cavalry advances only slightly to position itself to better defend the camp, the elephant splits from the main line to set up a bit of defence. Eumenes, on his right flank, stays in a delaying position as the opposing cavalry is stronger.
 |
| First turn advances |
 |
| The centre is nearly clashing, and the battle commences on the flanks. |
 |
| Eumenean cavalry (left) Vs the Antigonid cavalry. |
 |
| Centre light infantry meet and all disordered. The grey "spears" are disorder markers |
 |
| Eumenean elephant engaged with skirmishers |
 |
| Tusk to tusk - elephants engaged |
 |
| Antigonid cavalry guarding their left flank routed (red star) and eumenean cavalry advances. |
 |
| On the left side, The Eumenean cavalry engages the Antigonid light cavalry but it is not destroyed. On the right, the Antigonid elephant is routed. |
 |
| The Antigonid Light cavalry is destroyed,, and the victors nearly pursue off the table. |
 |
| BANG! Eumenean elephant on their right flank routed. |
 |
| BANG! and the Eumenean elephant on their left flank does as well. |
Another Eumenean light infantry gone in the centre. Eumenes definitely got the worst of it in the centre; the light infantry flank attack was unsuccessful.
 |
| Antigonid light infantry top right heading for the camp, Left red star is a lost Antigonid light infantry, Eumenean light infantry lost at right |
 |
| Antigonos (in front of picture) and Eumenes meet |
 |
| Eumenean supporting light cavalry retreats |
 |
| Antigonid light infantry breakscthrough to rush for the phalanxes. |
 |
| All that is now left between the phalanxes is a Eumenean light infantry, that will get out of the way soon! |
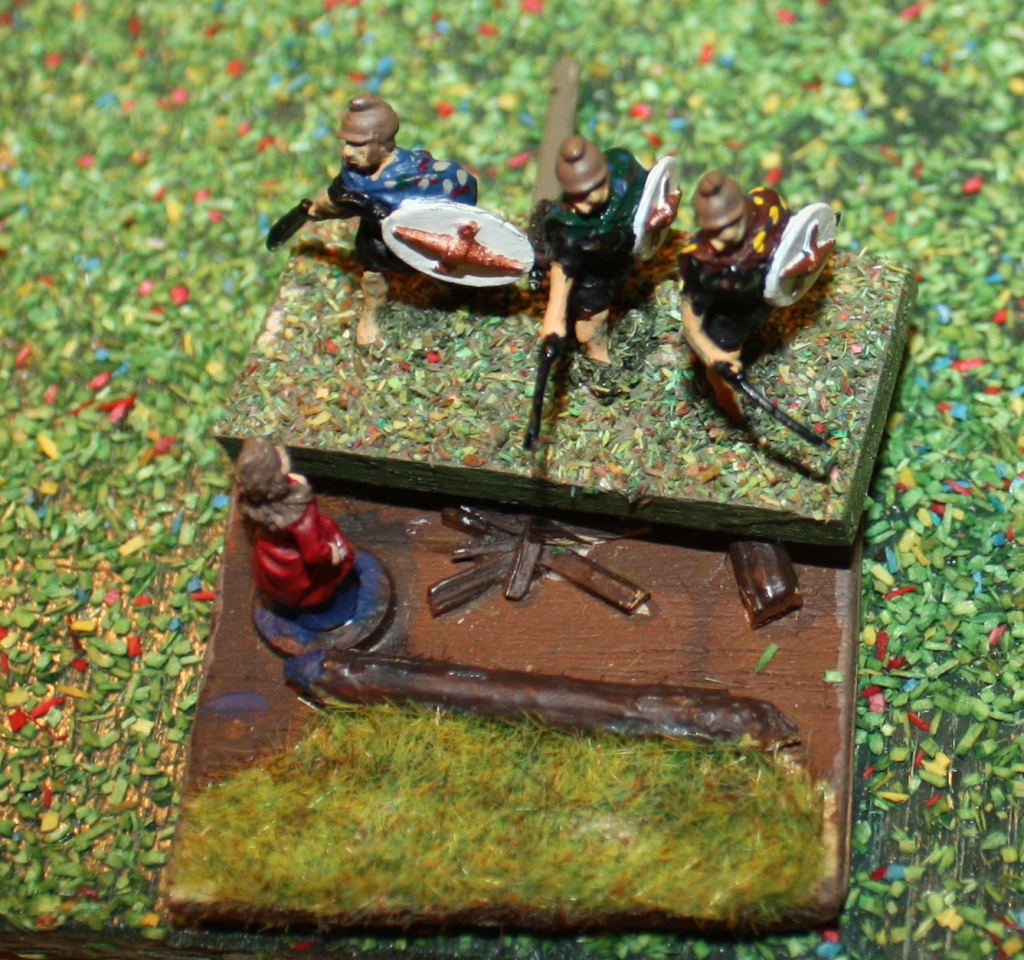 |
| The Eumenean camp being looted. |
Eumenes rolls a natural 6 Vs Antigonos. This has no effect as Antigonos has a +1 advantage due to not being a single unit due to supporting Companions. A modified 6 would have been required to rout them but this is ony a 6.
BUT a natural 6 requires Antigonos to do a General lost - on a 1 he is wounded/killed. A 1 is rolled. Oh dear. No general ability on the Antigonos side any more. Each unit takes an army morale test but only a skirmisher is lost.
In the meantime, the Eumenean heavy cavalry on their left flank has been turning around and coming back to the battle. They is ready to attack the Antigonid phalanx in the flank.
 |
| Before the phalanxes can meet, the Euemean heavy cavalry that nearly pursued off the board is coming back into the battle and heading for the Antigonid phalanxes. |
 |
| ...but only force one to retreat. |
 |
| Eumenes' Silver Shields finish them off. |
 |
| end game, Eumenes forces remaining to the left of the line, Antigonid to the right |
Verdict
It was a close game - Eumenes was also near his breakpoint. Rules working as designed and I am glad to be back with them after a year hiatus. The narrative generated is great, and it is a very fast game. I also got distracted re-reading up on the battle and why it came about. This is a good thing as one of the reasons to play the historical game is to get more historical reading in (either new or stuff I had not read in ages). So that part is working as well.


.jpg)


