Introduction
This is game 45 in play testing my ancient rules by
replaying historical battles. The latest
version of ‘Ancient Battlelines Clash’ is on its own blog page. I am play
testing the rules by replaying all the Peter Sides scenarios from his
Historical Battles books. ABC is
designed to finish in around 30 minutes on a 2'x2' table.
I have been slow in play testing these rules for the last
few years. For November 2019 I set a
challenge to play the 10 First and Second Punic Wars battles in the book. This battle is the tenth and last game I
managed to play in November.
Back in 2011 I set out a standard
deployment to play some small table games with various rules. It was too ambitious by attempting to
represent the lines of infantry for both sides and did not really work at this
small scale. I realised this after
playing two games, one
with DBA, one
with Rally Round the King. So I
moved onto using Heraclea that proved to be quite successful and I replayed it
using about 14 different rulesets. For
this replay of Zama, the individual lines are not represented.
Battle of Zama 202BC
The battle that will decide the outcome of the Second Punic
War. Scipio meets Hannibal in Africa.
Internet links used to assist with the scenario:
I also used Phil Sabin’s Lost Battles.
Troops
Roman

4 Hastati/Principes, Heavy Infantry, line relief
2 Triarii, Heavy Infantry, phalanx, elite, line relief
4 Velites, Skirmish Infantry, javelins
1 Veteran Cavalry, Medium Cavalry, elite
3 Numidian Cavalry, light cavalry, javelin
4 Numidian light infantry, light infantry, javelins, poor
Leader with Legion in the centre.
Army control ability +2
Breakpoint: 13
Carthaginian

2 Veterans Heavy Infantry, phalanx, elite
4 Spanish/Celts, Heavy Infantry
2 Skirmishers, Skirmish Infantry, javelins
2 Numidian cavalry, Light Cavalry, javelins
1 Cavalry, Medium Cavalry
2 Elephants
Army control ability +2
Leader with the Veterans in the centre.
Breakpoint: 12
Deployment
 |
| Romans on the left, Carthaginians on the right. |
All the Numidian light infantry are deployed uncontrolled
(so cannot act until the Carthaginians come into range, which is unlikely to
occur!). They are at the leftmost edge of the Roman side. As in the actual battle, they played no part.
Game
The Romans advance; the Carthaginians do not as with the
weaker mounted flanks they do not want to lose the flanks so quickly and
potentially leave the centre exposed.
The Roman right cavalry charges into the opposing
cavalry. Both disordered and locked in
melee.
 |
| Roman right flank: Cavalry on cavalry action. |
The main Roman centre moves into missile range of the Carthaginian skirmishers. Over a few missile exchanges, all the Velites retire from the field for no loss to the Carthaginians.
 |
| The skirmishers are in range. The Velites will all retire, with no loss to the Carthaginians, in the following missile exchange. |
 |
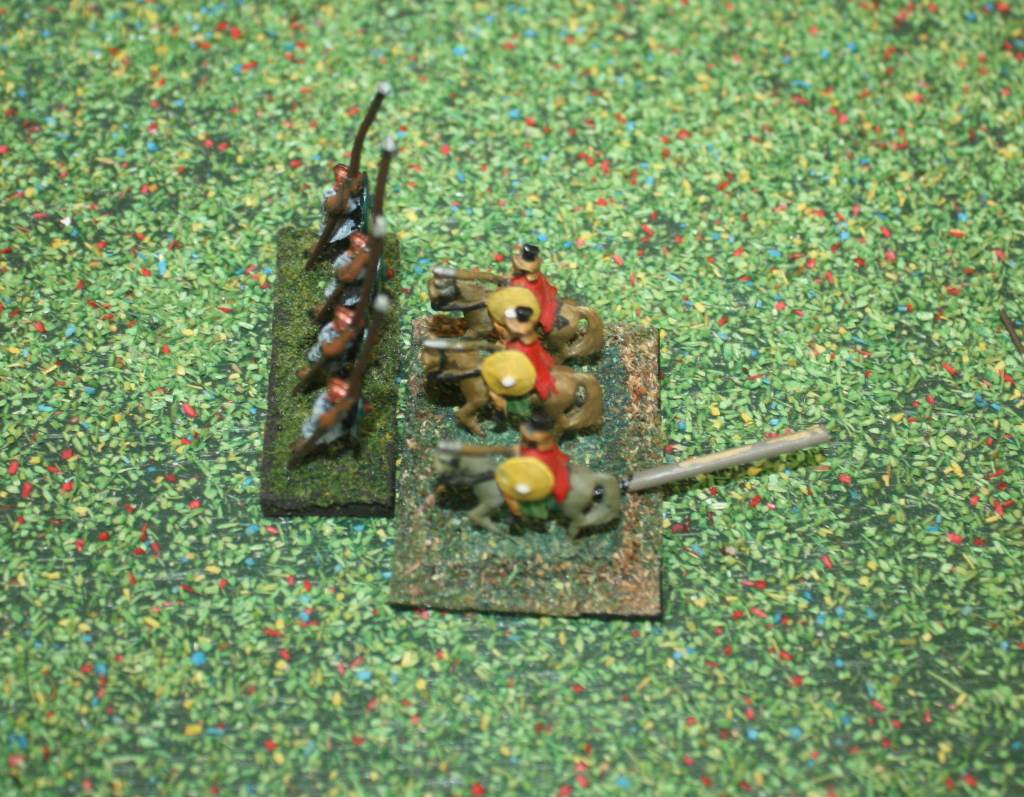
| The clash on the light infantry on the Roman left flank. |
 |
| One light cavalry on each side has had enough. |
On the Roman right, the Roman cavalry get the best of the Carthaginians and the opposing cavalry is routed. The Romans pursue.
 |
| The right flank Roman cavalry defeats the opposition. |
 |
| With the Velites gone, the Elephant and skirmish line enter into a fray with the Roman legions. |
 |
| Everyone disordered, and the Carthaginian skirmishers are gone, |
 |
| One Roman Cavalry is gone but while that is occurring an unopposed Roman cavalry charges around to the flank of the Carthaginian light cavalry. |
A bit happens in the centre.
Elephants hang on, the Spanish/Gauls advance to melee with the lone
Roman heavy infantry and disorder it.
The Carthaginian veterans move to face the Roman cavalry threat.
 |
| Lots going on tin the centre - Elephants still alive, one Roman unit charges the Gauls/Spanish, Carthaginian veteran infantry wheels to protect the flank from the Roman cavalry. |
 |
| On the left, the Romans defeat the Elephant and advance. A Triarii is moving to get onto the flanks. |
 |
| The other elephant routs and now infantry is engaged along the line. The Triarii are now shoring up the centre flanks |
 |
| Carthaginians are losing their heavy infantry. |
 |
| The Carthaginian veteran infantry in melee with the Roman Cavalry. They will subsequently win the melee. |
The Carthaginians
have reached their breakpoint and the Romans have won!
 |
| The end. |
Verdict
I put the Carthaginian killed light cavalry with the Roman
dead and so miscounted the breakpoints until the last melee when I realised my
error. A really good game and while it
is at a very high level and only captures the brushstrokes of the battle it
came out OK. It was a closer battle than I thought it would be - a few poor dice rolls by the Romans and it may have gone to the Carthaginians.


.jpg)


Zama, the classic of the classics - nice order of battle producing a very dynamic battle.
ReplyDeleteYes,the order of battle I used for this game is much better than the last time I played it.
Delete