I have 1/2 a table tennis setup and have played two 20mm games already. I have also tweaked the battalion level rules I wrote for the second game. I had simplified my own rules for a game with a 9 year old and they were so much fun, easier on the brain and I could focus even more on tactics rather than the rules. So I spend a little time adding extra mechanisms rather than extending the rules and looked around for a few games to test them with, preferably a few linked games. After looking around a few scenario books I have, I remembered that Kampfgruppe Normandy (out of print and supeceded by Battlegroup Overlord) had a mini-campaign in it. So I dug it out and sure enough, there is a 7 game mini-campaign set over 2 days at the opening of Operation Goodwood. 7 games and I have 7 days left in the holidays but not that much time really. A few of the early games look like they will go quite quick.
Not many pictures - it was a quick game and quite static.
Scenario 1 - Screening Cagny
2nd Squadron Grenadier Guards Vs a battery of Luftwaffe 88s on the edge of Cagny. Germans are defending while the Guard tanks advance over what is mostly open ground. If any Germans survive the game after 6 turns, they get to be reused later in the campaign.
 |
| The table setup |
Germans
4 88mm guns
1 Grenadier squad
1 MMG
Who has four 88s? I have 2, and that is one more than I have ever used in the same game!
British
2 Squadrons
2 Shermans
1 Firefly
1 Humber armoured car with FAO
2 unallocated artillery support (this equates to the 2 low priority requests in the scenario)
The Humber was supposed to be a Humber scout car but I do not have any.
 |
| I did up a quick diagram for the mini-campaign; arrows indicate where surviving forces may end up later |
My rules use card based activation with a joker ending the turn, 6 turns equates to about 8 turns in this scenario. It is not double as their are extra cards added to reflect command and control etc, there are only a small number of units in this games and so there is a good chance most units will activate each turn.
I also split the four 88s into two units so they require activation on different cards. This reduces the chance of a turn ending with no card to use for the 88s at all.
Deployment
88s right back in a line at the Chateau and the hedges
 |
| The 88s in a row. Crew count as in hard cover due to the gun shields. |
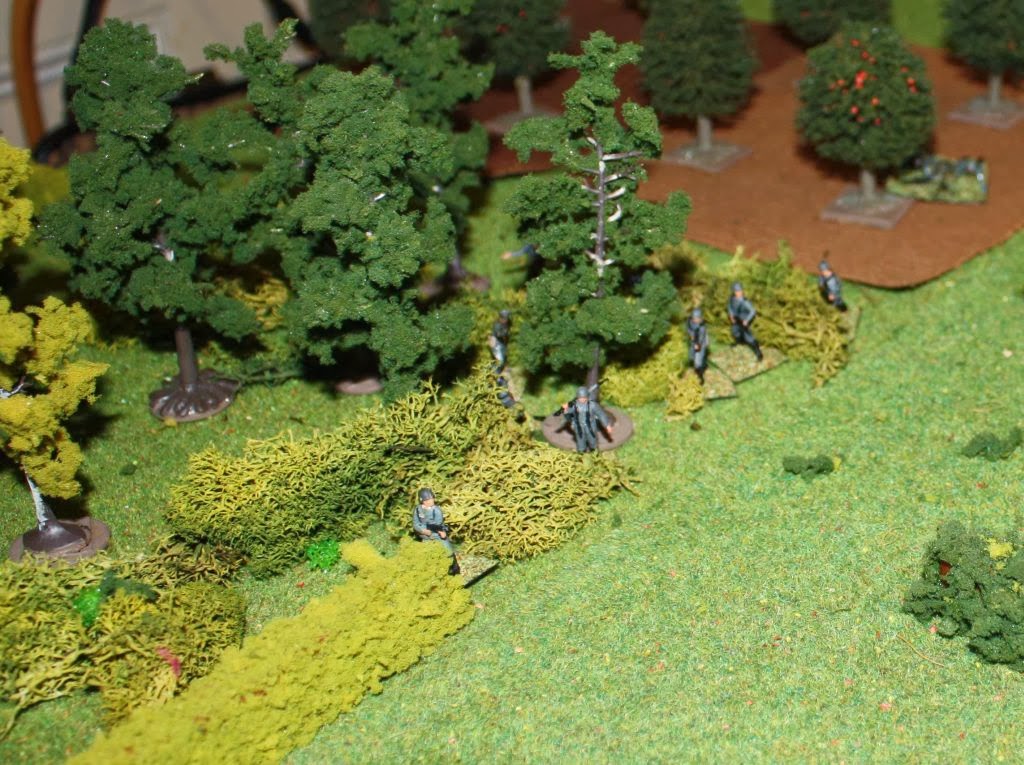 |
| The squad in the corner of the woods; they played no part in the battle. |
Shermans spread out in a line with the Fireflies slightly back.
 |
| The Shermans deploy with the Humber in the centre on the road. |
Game
Well, to start off, I initially thought the British would get thrashed due to the long range and powerful penetration of the 88s. But then I started playing. Firstly, there is a hedge between the 88s and the Shermans, so the 88s would have to roll a 4+ to see the moving Shermans (they all rolled this straight off). And then to hit the Shermans in the first turn requires a 6 (4+, -1 for the intervening hedge, -1 for > 1/2 range (30") is half range). So maybe no so bad. It did get worse for the British as they got closer.
Shermans advance and the 88s fire for no result. The Shermans spot some of the 88s and fire some HE. Need a 3+ to land some shells. All rolled a 1 or a 2. The 88s respond - need a 4 or more. Three are hit and two Shermans are brewed and one pinned.
 |
| Halfway through the game and 5 (of 6) Shermans are gone for one one 88 destroyed. |
Next few turns see another Sherman gone but one 88 is finally hit and the crew is destroyed over two turns (Direct HE is 3+ to hit, then roll 2d6 and a 6 is a casualty; MMGs (4 dice) cannot do any damage at this range - need to get to within 18" to have a chance).
Two more Shermans gone (the pinned one is brewed up) but in the last turn (turn 8), the Humber manages to call in some artillery (required a 6) and the 105mm shells mange to destroy the crew of another 88.
 |
| The Humber Forward Artillery Observer. On the last turn they managed to actually call the artillery down on an 88 and destroy it. I got this model (already painted) quite a few years ago and this is (finally) the first time it is on the table. |
So, at the end of the game, one 88 is left to appear in a later scenario (number 4), and 1 Sherman and the Humber survives. The German squad and MMG were not called on to do anything. The 88s took care of any tanks in range.
Verdict
A very quick scenario. The 88s did male short work of the Shermans with a few lucky dice rolls but even average rolling would have seen a lot of the Shermans go anyway. I should have kept the Shermans back in the long range of the 88s (for a 6 to hit) while thee 75mm direct HE would have had the same chance to hit as they did being where they were a lot closer. I like my rules, they worked exactly how I wanted them to with spotting, HE and chance to hit working well for battalion level rules.


.jpg)


Cool Blog mate, link added
ReplyDeleteTa. Game 2 is done but needs writing up.
Delete