Saturday, 31 May 2025

Battle of Immae, 272 AD using Ancient Battlelines Clash

Introduction

This is game 70 in play testing my ancient rules by replaying historical battles.  I started by using my own rules Ancients Battlelines Clash (ABC) but recently using a similar set of my rules, When Warriors Collide (WWC).  I recently updated ABC with some learnings from WWC, so back to using ABC! I have also gone (back) to a 10x10 grid this time.  I was considering a grid again and then after playing Dominion of the Spear I then creating 3x3 grid rules for them.  I realised I could replace my movement rules in ABC with those in the 3x3 rules.  The new ABC rules are similar to the old ones but movement is more flexible.   I am play testing rules by replaying all the Peter Sides scenarios from his Historical Battles books, and some others I find along the way.  ABC is designed to finish in around 30 minutes on a 2’x2’ or smaller table; I am currently using a 40cmx40cm table.

Battle of Immae, 272 AD

Aurelian's veteran legions reconquest of Palmyra from Queen Zenobia's mixed forces.

Scenario source: Bill Banks Ancients.

Link(s):

World History: https://www.worldhistory.org/Battle_of_Immae/

Wikipedia: https://en.wikipedia.org/wiki/Battle_of_Immae

Troops

Romans (Aurelian)

2 LDR, 2 HC, 2 LC, 2 HI, 2 MI, 1 LI.

Breakpoint: 3

Palmyra (Zenobia)

1 LDR, 2 KN, 2 LC, 3 LI, 2 LA.

Breakpoint: 4.5

Scenario

Map: Open.

Special rules: Palmyrene KN have missile capability and their LC are camels.

Deployment

Romans (Aurelian):

LC HC MI HI* HI MI HC* LC.  1 LI in front of the HI

Palmyra (Zenobia):

LC KN LA LI LI LI LA KN* LC


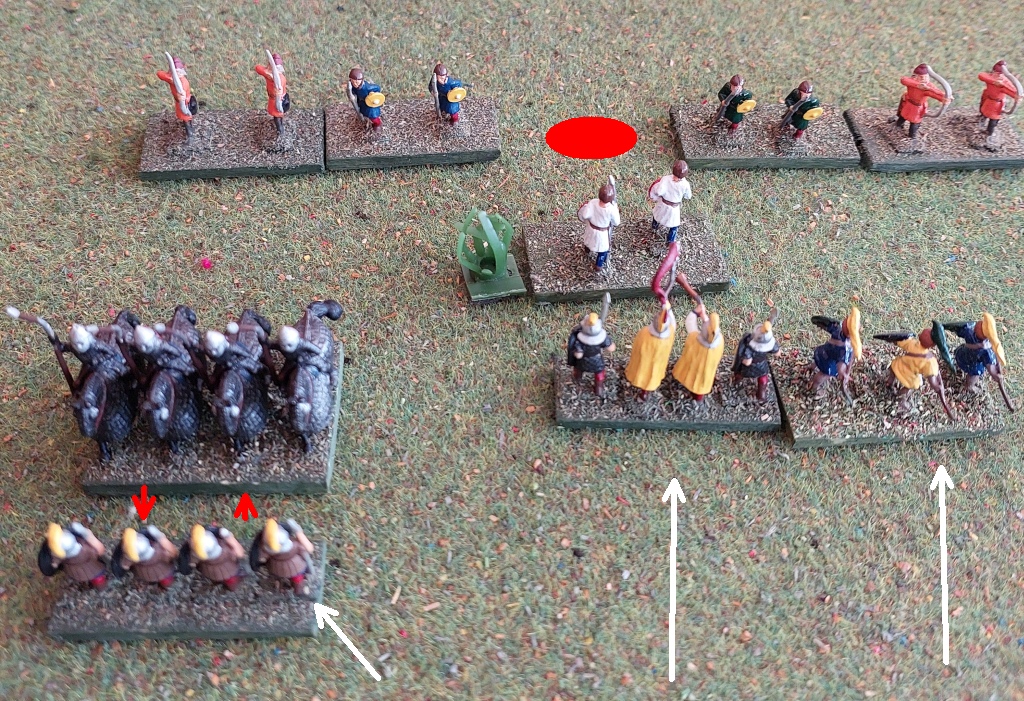
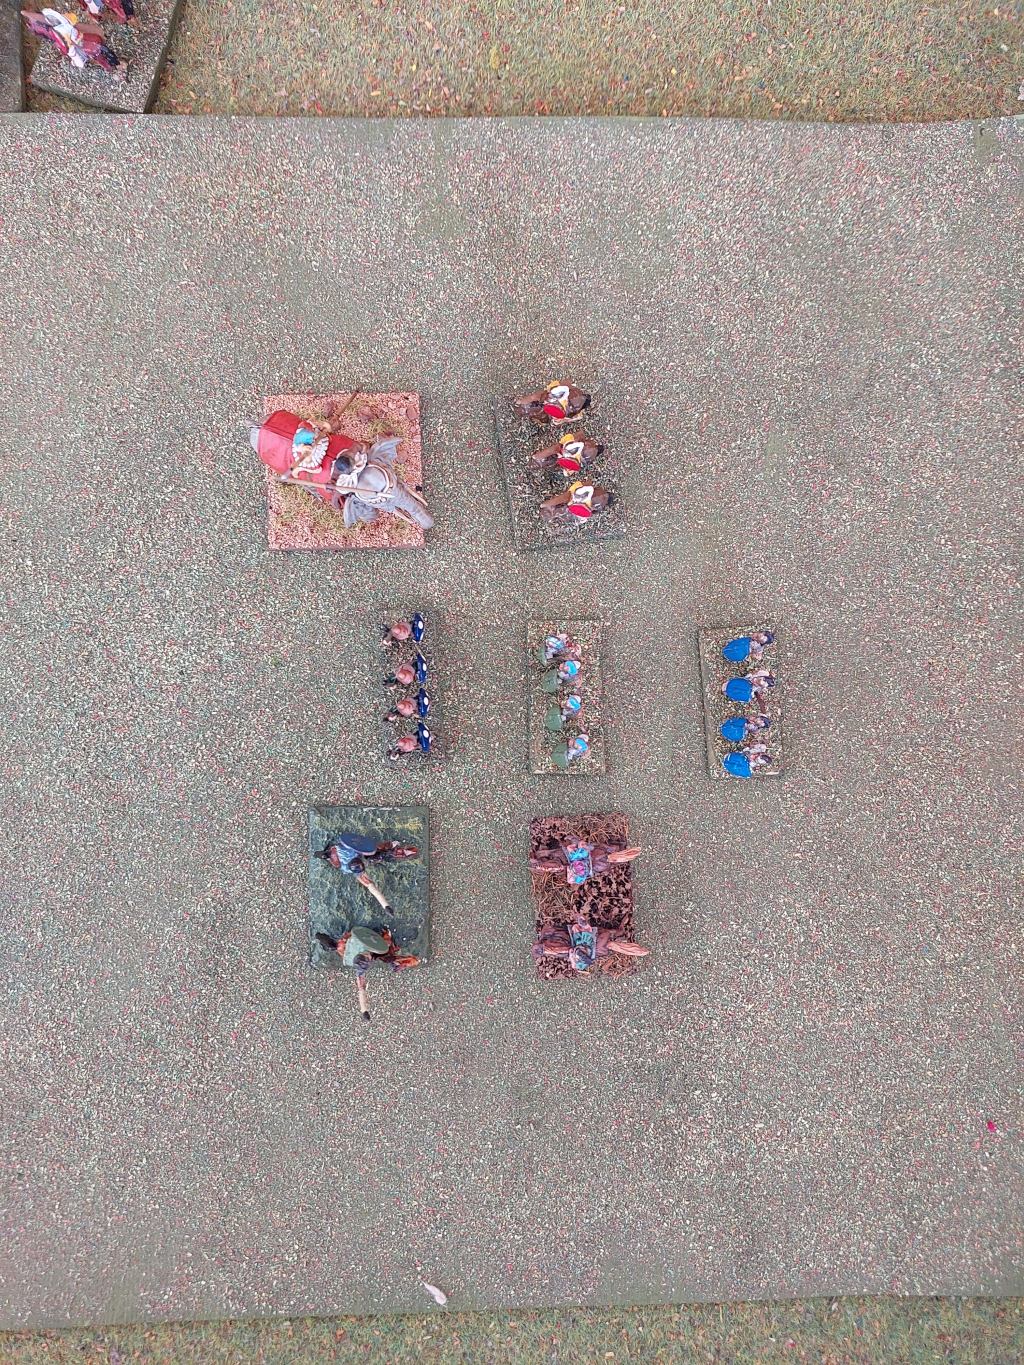
Deployment (Romans on the left)

Game

Only the Roman left flank manages to advance.

Palmyrenes advance the flanks only.  Their centre is no match for Roman centre so will delay as long as possible.

Palmyrenes advance the flanks

Romans advance.  The general charges the Cataphracts but they shoot and the generals charge fails.  The Camels shoot the opposing Light Cavalry and the Light Cavalry are destroyed.

The Palmyrene right flank is not going well for the Romans

The Camels advance and manage to destroy the leader.  This is not going well at all for the Romans.

Roman leader dies at the hand of the camels

And then the Heavy Cavalry on the other flanks mandatory charges the Cataphracts and also is routed.  The Romans have lost all their Heavy Cavalry already.

Roman right flank Heavy Cavalry charges the Cataphracts

The Roman battleline advances.  The Auxilia charge the Cataphracts, they shoot but fail to stop the charge.  The Auxilia is routed in the ensuing melee.

Roman battleline advances

Both Palmyrene Cataphracts fail to move, Palmyrene left flank Camels fires at the light cavalry and disorders the Roman cavalry  Further missiles exchange sees the Roman LC rout.

Roman battle line advance, except for a legion that engages the left flank Cataphracts and the Legion is disordered.

Roman battleline continues to advance, Legion engaging the cataphracts

In the next melee, the Cataphracts routs the Romans.  Enough of the Romans have been destroyed that the Palmyrenes have won!

Endgame

Verdict

A very quick game (as designed).  The Romans roll appallingly than the Palmyrenes rolled really well. The Romans lost 6 units compared on one Palmyrenes, and the latter is was a light infantry unit.  Does go to show the difference in luck. In a game with a few units and fast combat resolution, this has occurred in the past and did so for this game. I did expect the Roman flanks to hold a little longer for the Romans in the centre to engage and rout  the opposing missile units.  But it was not to be.  Liking the new rules - these are still mostly ABC but with generous movement rules, stripped back a little from previous rules and a slightly faster combat resolution.  Liking the grid (again!).

WW2 20mm battle report British Vs Germans 1944 using my own rules

Introduction

I play a game with my 20mm WW2 forces – Late war British Vs Germans – on a 4’x5’ table.

Background

In the last few months, I have had 4 games using One Hour Skirmish Wargames with 2 people a side.  I do like the rules but they are not as fast as mine 😊 The half a table tennis is still setup from a previous game so I just repurposed the table and figures for a solo game using my own rules.  These are the same rules I used for the half a dozen or so games on the 2’x2’ board from last year.  These rules are fairly similar to my WW2 Advance to cover but close combat uses the same mechanics as ranged fire.  One day I will write them up - currently a one page QRS.

Scenario

A British Recce company needs to make its way through a German occupied town in late 1944 and take the church to facilitate opening up the road.

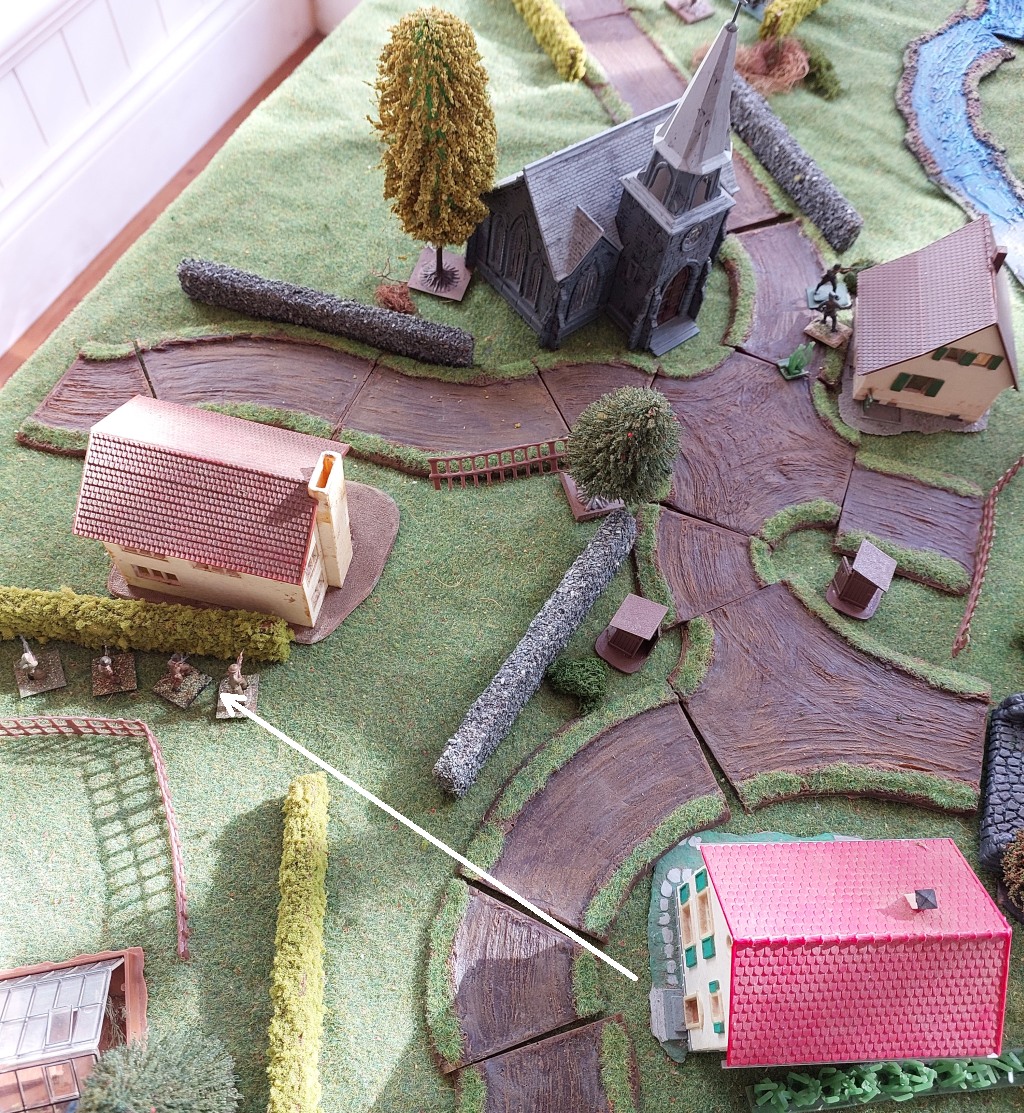
Battlefield

Forces

Each figure represents about 3-5 soldiers (so around 6-10 figures for a platoon).

1:1 for vehicles and crew served weapons.

In this game, platoons are around 6 figures.

British


1 Company HQ of 3 figures

3 Platoons of 6 figures each

2 Cromwells

1 81mm mortar

German


1 Company HQ or two figures

2 Platoons on 6 figures each

2 MMGs

2 Panzerschreck teams

Deployment

The German MMGs are situated on the two flanking hills.  While a bit of a forward deployment, hopefully they can inflict enough casualties to slow the British down as they advance through the wheatfields.

One platoon is deployed to defend approaches the bridge and any approaches via their right flank. The other platoon defends the left flank approaches to the church as also a possible counterattack into the church.

The Company HQ is in the church.

The British will advance to the house before the bridge and also on their left flank.  The left flank offers better protection than via the right.  The house will be used as a base to advance across the bridge.  The Cromwells will deploy on each flank and then hopefully set them on each hill to support the infantry advance across the bridge and into the village.

Game

British 1st and 2nd  platoon advance.

The British 1st platoon is shot at by the MMGs.  Only one casualty (average would have been 2).

British view after advance of 1st and 2nd platoon

The 2nd  platoon get one casualty from the machine guns .

The Cromwells come on the battlefield but don’t spot the MMGs as the latter are concealed, even though they fired.  The 1st platoon race up to hide behind the building

1st platoon find cover behind the central building

The second platoon continue to advance to cover.

Second platoon managed to get behind the hedge

The second platoon fail to spot the MMG and cannot even fire in the general direction as the platoon has moved

The first platoon move into the building, manage to spot an MMG on the hill and fire, but do not hit them at all.

1st platoon firing at the MMG

The second platoon fire at the MMG as they managed to spot it.  They destroy the MMG (very lucky dice).  The British third platoon enters.

Overview, 3rd Platoon in foreground

MMG manages to destroy another figure in the building (first platoon). The first platoon fires back and reduces the MMG to one crew.  Again the MMG removes another soldier in the first platoon. The platoon have to do a morale check that they fail and have to retreat (6”) and are suppressed.

First Platoon retreats

Cromwells fire on the MMG but for no effect. Another turn and another firing of HE and the Cromwells take out the MMG. The Third Platoon move up to the house formerly occupied by the first platoon.  The Company HQ also enters and advances towards the building.

The company HQ arrives

There is a general advance for the British and also the first platoon recover from suppression.

3rd Platoon move out of the house to hide behind the wall near the bridge (apologies for the sun!)


Second platoon makes it to the hill on their left flank

The Cromwells take up position on each Hill.

The British are ready for the assault - either third Platoon across the bridge or second Platoon dashes down the hill across the Ford to the left of the bridge.  Third platoon will try the bridge.  They enter the bridge but fails to spot and the German infantry nearby and so the British have nothing to shoot at.

3rd Platoon advancing over the bridge (German view)

The Germans are distracted and this enables the British on the bridge to continue to move. They advance straight to the building with the German first platoon and a melee ensues.

Melee in the building

The Germans have the better position being in cover and not moving.  They manage to inflict three casualties on the British.  The British only inflict one on the Germans. The British pullback and are suppressed.

Retreat to the bridge

To add insult to injury the Germans fire at the British at the retreat and score another casualty. The British platoon check the morale again and the platoon decided to retreat back to their own lines (left the battle).

The Cromwells fire on the building and between the two of them manage to score another German casualty.

The British Major manages to call the 81mm mortar onto the German occupied building and scores two casualties.  The Germans pass their morale check.

Second platoon race down the hill to occupy the building

Second platoon race down the hill to occupy the building.  The British platoon now manage to spot the Germans behind the wall and fire for no effect. The Germans return fire that is also ineffectual.

British facing off to Germans

The Germans get off some more fire and score one casualty on the British.  The British return this fire to wipe out the Germans (wow excellent dice!). The remaining British platoon decided to cross the bridge.

Crossing the bridge

On the other side of the bridge is the Panzerschreck team but the British don't see it.

The Panzerschreck team fire at the running British soldiers, misses; the British soldiers return fire and destroy the team.

Panzerschreck firing at the soldiers on the bridge

The British have so few units left.  They will not be able to spot any Germans in the buildings until they get within 6” so the Germans will sit tight.  The British need to decide where to move next and if the Germans open fire then the Cromwells can blast them with HE.

The British on the bridge move forwards closer to the church. The Germans take a risk and the three figures in the opposite building fire on the moving British soldiers. Amazing dice roll and destroy all three British figures!

British soldiers under attack by the Germans

The Cromwells open up on the building but the first shots miss. They get another chance and destroy a figure and suppress the building.

The British soldiers in the building race across the street to get closer to the church

Racing close to the church

Germans unsuppress and fire on the British Platoon, score a casualty but the British platoon - even though at half figures - is still okay.  The British really have no choice for victory but to charge the church.  They do so - it is occupied by the commander and one other soldier and a melee occurs

Melee in the church (after the Brits have driven off the Germans)

The Germans fire first but fail to inflict any hits. The British then rout both of the enemy and occupy the church.

The remaining Germans fail morale and retire from the battlefield.

Remaining Germans

The British succeed!

Verdict

I was not sure how hard or easy this scenario would be.  The defending Germans had 2 MMGs and two platoons, compared to the attacking British 3 platoons and 2 Cromwells. And the handheld anti-tank weapons have a shorter range in these rules (6") compared to 18" in One Hour Skirmish Wargames.  The British are advancing across wheatfields but to offset that the Germans need to defend the town.  In the end it was very close.  About two-thirds through the game I did not think there was much chance of the British winning but they managed to win two major firefights (against the Germans behind the wall and then in the church).  So they were quite lucky.  Poorer dice in these two instances could have easily seen the British lose some more casualties and morale checks would have seen them retire from the battle.

It was a great game.  Never tire of getting out the 20mm WW2 figures on half or a full table tennis table.

Wednesday, 30 April 2025

Dominion the Spear 36 Ancient Battles (battles 1-10)

Introduction
I played some Dominion of the Spear recently to test out some minor rules changes and decided to play the 36 battles in the Dominion of the Spear scenario book.  This is the replays of the first 10 games.

Background
I thought that if Steve (DotS author) had taken the time to create 36 historical ancient battles then I should at least play them.  I do like historical battles after all. A few of the battles have some alternative units and I have added a few extra battles so all up I have 42 battles to play. I will split them across four post as to not have one huge one.  And I will move away from just overhead shots and include some “action shots” as well – well, as much as I can with only a few bases in the battle.
 
Units
I have also used an excel spreadsheet to help generate the outcomes so I am not having to type so much. It also means some of the narrative is a bit same-y.  I used generic unit types in the narrative and also specific unit types if mentioned in the scenario.
 
Steve should be commended on using his 16 units types to recreate the battles using 12 points a side. After playing the battles I think it made excellent choices on how best to comparatively represent the forces for each side.  This does mean, for examples, Legions can vary between Melee Infantry up to Melee Infantry Armoured Elite depending on the battle.  An extreme example but units that are similar are represented differently in different battles.  I have no problem with this at all as it is all about representing each side to best reflect how the battles was fought.   What this also means is if I use “Spearmen” in one battle these may be Melee Infantry, but in another battle “Spearmen” may be Melee Infantry Elite or Melee Infantry Armoured.   I tended to use whatever they were labelled in the scenario.
 
Rule changes
I used two:
  • Melee Infantry always hit on a 4+.  If versus another Melee Infantry and both are hit neither are destroyed.
  • Reserves are allocated to a sector at the start.  When required, reserves are drawn firstly from the destroyed unit’s sector, then from an adjacent sector (if available).
 Discussion on these rule changes are in this post.
 
Battles in this post
  • Battle of Megiddo around 1479 BC
  • Battle of Kadesh 1274 BC
  • Battle of Arrapha 616 BC
  • Battle of Thymbra 536 BC
  • Battle of Marathon 490 BC
  • Battle of Marathon 490 BC (alternative forces)
  • Battle of Plataea 479 BC
  • Battle of Gaugamela (Arbela) 331 BC
  • Battle of Ipsus 301 BC (The Battle of Five Kings)
  • Battle of Heraclea 280 BC
Also note I randomly rolled for attacker and defender for each battle, as per the rules.
 
Battle of Megiddo around 1479 BC
Canaanite attacker, commanded by Durusha the king of Kadesh. Light Chariots (left), Light Chariots (centre), Light Chariots (right); in reserve Militia Archers (on a hill) (left) Spearmen (on a hill) (centre).
Egyptian defender, commanded by Pharaoh Thutmose III. Chariots (right), Chariots (centre), Chariots (left); in reserve Axemen (centre).
 
Turn 1
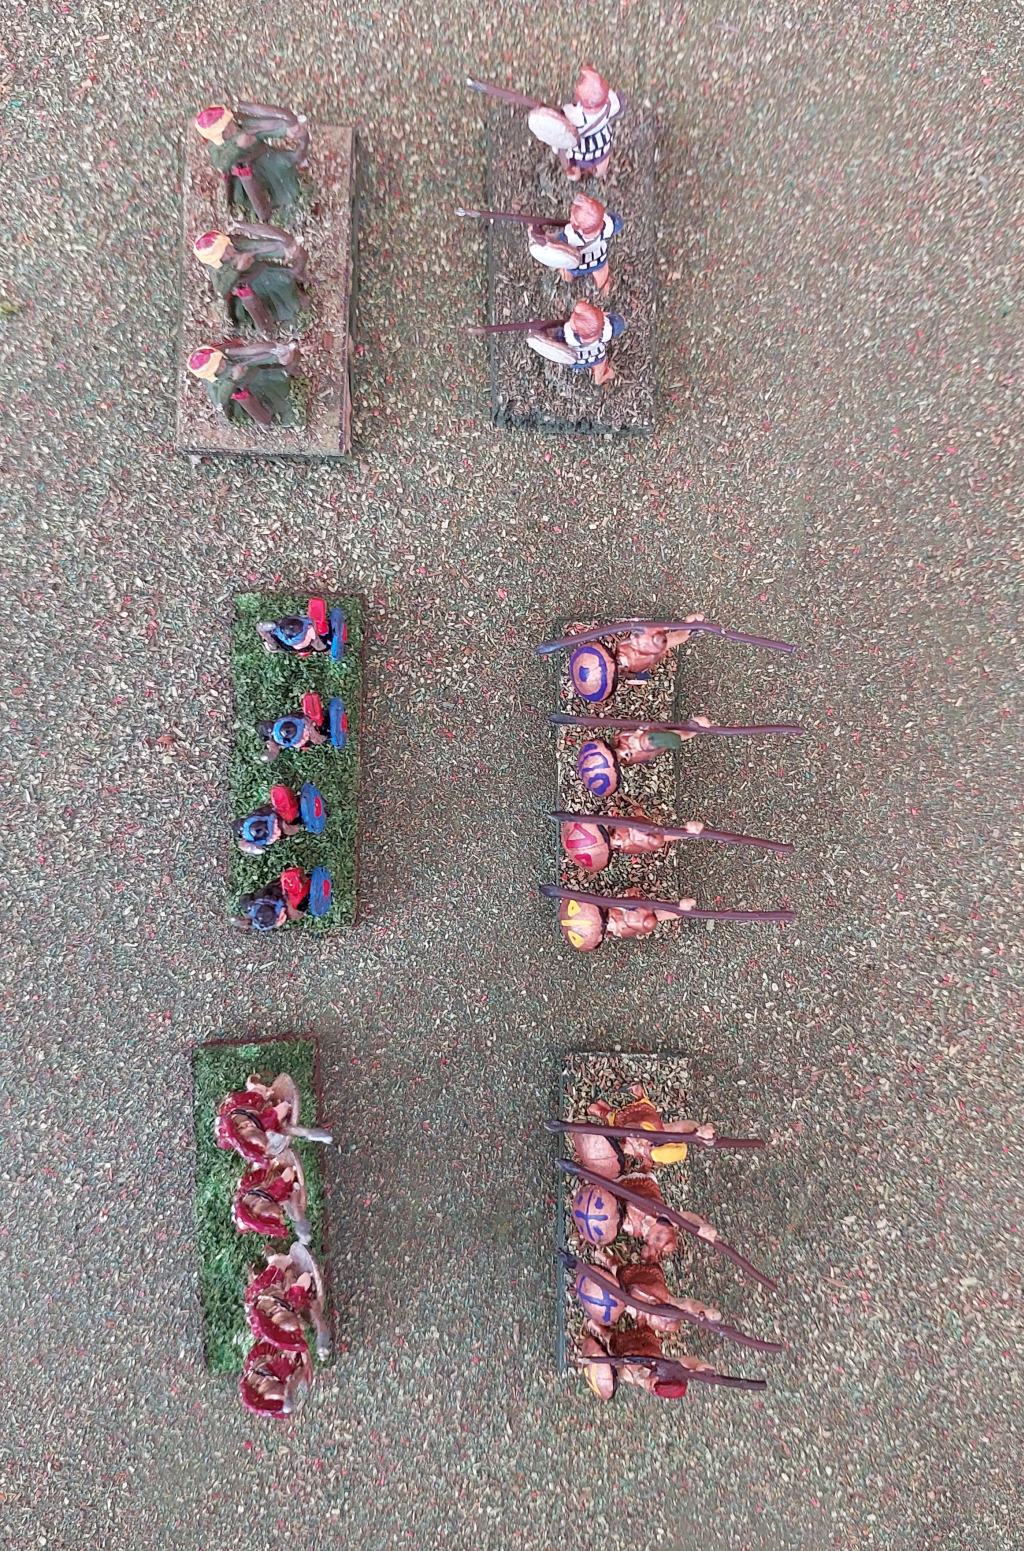
Canaanite Vs  Egyptian

The Canaanite left flank Light Chariots exchange missiles with the opposing Chariots. No result.

The Egyptian right flank Chariots exchange missiles with the opposing Light Chariots. Neither inflict significant damage and are locked in combat.

Turn 2
The Canaanite left flank Light Chariots exchange missiles with the opposing Chariots. Both are destroyed! Canaanite Militia Archers (on a hill) moves into the left flank. Egyptian Axemen from the centre is directed to the right flank.
Canaanite Vs  Egyptian

The Egyptian left flank Chariots exchange missiles with the opposing Light Chariots. Both are routed!


 No Egyptians in reserve. Canaanite Spearmen (on a hill) from the centre is directed to the right flank.

Turn 3
The Canaanite right flank Spearmen (on a hill) outflanks the centre Chariots. No result, still in combat.

The Egyptian right flank Axemen receives missiles first from the opposing Militia Archers (on a hill). The Egyptian Axemen shatters the Militia Archers (on a hill). No Canaanites in reserve.

Turn 4
Canaanite Vs  Egyptian


The Canaanite right flank Spearmen (on a hill) outflanks the centre Chariots. No result, still in combat.
The Egyptian right flank Axemen outflanks the centre Light Chariots. The Egyptian Axemen breaks the Light Chariots. No Canaanites in reserve.
Canaanite Vs  Egyptian

Egyptians (defender) defeats the enemy.
 
A close game
 
Battle of Kadesh 1274 BC
Hittite attacker, commanded by King Muwatalli II. Light Chariots (left), Medium Chariots (centre), Medium Chariots (right); in reserve Foot Troops (centre) Light Chariots (right).
Egyptian defender, commanded by Pharaoh Ramses II. Foot Troops (right), Spearmen (centre), Light Chariots (left); in reserve Chariots (centre) Medium Archers (left).
 
Turn 1
Egyptian Vs Hittle (image reversed for some reason)

The Hittite right flank Medium Chariots exchange missiles with the opposing Light Chariots. The Hittite Medium Chariots shatters the Light Chariots.

Egyptian Medium Archers replaces the left flank.

Hittite Vs Egyptian

The Egyptian centre Spearmen receives missiles first from the opposing Medium Chariots. The attacking Spearmen are forced to flee. Egyptian Chariots moves into the centre.

Turn 2
Hittite Vs Egyptian

The Hittite left flank Light Chariots fires missiles first at the opposing Foot Troops. No result.
The Egyptian centre Chariots exchange missiles with the opposing Medium Chariots. The attacking Chariots are shattered.
No Egyptians in reserve.

Turn 3
Hittite Vs Egyptian

The Hittite centre Medium Chariots outflanks with missiles the right flank Foot Troops. Neither force the other to give ground.
The Egyptian left flank Medium Archers exchange missiles with the opposing Medium Chariots. No effective result and remain in combat.


Turn 4
The Hittite centre Medium Chariots outflanks with missiles the right flank Foot Troops. No effective result and remain in combat.
The Egyptian left flank Medium Archers exchange missiles with the opposing Medium Chariots. Neither inflict significant damage and are locked in combat.

Turn 5
The Hittite centre Medium Chariots outflanks with missiles the right flank Foot Troops. No result.
The Egyptian left flank Medium Archers exchange missiles with the opposing Medium Chariots. The attacking Medium Archers are shattered. No Egyptians in reserve.
Hittite Vs Egyptian


Hittites (attacker) drives the enemy from the field.
 
The Egyptians could not get in a decent roll all game.  And five sector activations in a row that saw no result is something very rare – not sure if I have had a long streak like that.
 
Battle of Arrapha 616 BC
Assyrian attacker. Medium Archers (left), Medium Archers (centre), Heavy Chariots (right); in reserve Medium Cavalry (centre).
Neo-Babylonian defender, commanded by King Nabopolassar. Bowmen (right), Bowmen (centre), Heavy Chariots (left); in reserve Medium Cavalry (centre) Militia Archers (left).
 
Turn 1
Assyrian Vs Neo-Babylonian

The Assyrian centre Medium Archers exchange missiles with the opposing Bowmen. The Assyrian Medium Archers destroys the Bowmen. Neo-Babylonian Medium Cavalry replaces the centre.


The Neo-Babylonian left flank Heavy Chariots exchange missiles with the opposing Heavy Chariots.


The attacking Heavy Chariots are shattered. Neo-Babylonian Militia Archers replaces the left flank.

Turn 2
Assyrian Vs Neo-Babylonian


The Assyrian right flank Heavy Chariots exchange missiles with the opposing Militia Archers. No result.
The Neo-Babylonian right flank Bowmen exchange missiles with the opposing Medium Archers. The Neo-Babylonian Bowmen routs the Medium Archers. Assyrian Medium Cavalry from the centre replaces the left flank.


Turn 3
The Assyrian right flank Heavy Chariots exchange missiles with the opposing Militia Archers.


The attacking right flank are routed. No Assyrians in reserve.
Assyrian Vs Neo-Babylonian

The Neo-Babylonian left flank Militia Archers outflanks with missiles the centre Medium Archers. Neither inflict significant damage and are locked in combat.

Turn 4
The Assyrian centre Medium Archers fires missiles first at the opposing Medium Cavalry. 

The attacking centre are forced to flee. No Assyrians in reserve.

Assyrian Vs Neo-Babylonian


Neo-Babylonians (defender) is victorious!
 
Battle of Thymbra 536 BC
Lydian attacker, commanded by King Croesus. Cataphracts (left), Pike Phalanx (centre), Cataphracts (right); in reserve Foot Troops (centre).
Persian defender, commanded by Cyrus the Great. Sparabara (right), Light Chariots (centre), Sparabara (left); in reserve Sparabara (right) Medium Cavalry (centre).
 
Turn 1
Lydian Vs Persian

The Lydian centre Pike Phalanx receives missiles first from the opposing Light Chariots. The Lydian Pike Phalanx forces to flee the Light Chariots. Persian Medium Cavalry replaces the centre.
Lydian Vs Persian

The Persian right flank Sparabara fires missiles first at the opposing Cataphracts.


The attacking Sparabara are routed. Persian Sparabara is directed to the right flank.

Turn 2
Lydian Vs Persian

The Lydian centre Pike Phalanx attacks the opposing Medium Cavalry.


The Lydian Pike Phalanx shatters the Medium Cavalry. No Persians in reserve.
Lydian Vs Persian

The Persian right flank Sparabara fires missiles first at the opposing Cataphracts.


 The attacking Sparabara are forced to flee. No Persians in reserve.
Lydian Vs Persian

Lydians (attacker) drives the enemy from the field.
 
The Lydians did not lose a unit!  The Persian missile fire was completely useless.  A big deviation from history  for this battle. I am tempted to play it again to see if it is unbalanced or simply poor dice rolls, but onto the next battle instead!
 
Battle of Marathon 490 BC
Persian attacker, commanded by Datis. Sparabara (left), Immortals (centre), Sparabara (right); in reserve Light archers (left) Light archers (right).
Greek defender, commanded by Miltiades. Hoplites (right), Hoplites (centre), Hoplites (left); in reserve Hoplites (centre).
 
Turn 1
Lydian Vs Persian

The Persian centre Immortals fires missiles first at the opposing Hoplites.


The attacking centre are routed. Persian Light archers from the left flank is directed to the centre.

The Greek centre Hoplites receives missiles first from the opposing Light archers. The attacking Hoplites are routed. Greek Hoplites advances to fill the gap in the centre.

Turn 2
Lydian Vs Persian

The Persian centre Light archers fires missiles first at the opposing Hoplites. The attacking centre are destroyed. Persian Light archers from the right flank advances to fill the gap in the centre.
Lydian Vs Persian


The Greek centre Hoplites receives missiles first from the opposing Light archers. The attacking Hoplites are shattered. No Greeks in reserve.

Turn 3
Lydian Vs Persian

The Persian centre Light archers outflanks with missiles the right flank Hoplites. The Persian Light archers routs the Hoplites. No Greeks in reserve.
Lydian Vs Persian

Persians (attacker) forces the enemy to flee.
 
A close game.  Very interesting.  Lots of bows!
 
Battle of Marathon 490 BC
An alternative version based on the scenario I usually use for this battle.
Greek attacker, commanded by Miltiades. Hoplites (thinned line) (left), Hoplites (thinned line) (centre), Hoplites (thinned line) (right); in reserve Hoplites (left) Hoplites (right).
Persian defender, commanded by Datis. Light archers (right), Immortals (centre), Light archers (left); in reserve Light archers (right) Sparabara (centre).
 
Turn 1
Greek Vs Persian

The Greek left flank Hoplites (thinned line) receives missiles first from the opposing Light archers. No effective result and remain in combat.
The Persian centre Immortals fires missiles first at the opposing Hoplites (thinned line). The Persian Immortals breaks the Hoplites (thinned line). Greek Hoplites from the left flank is directed to the centre.

Turn 2
Greek Vs Persian

The Greek centre Hoplites receives missiles first from the opposing Immortals. The Greek Hoplites breaks the Immortals. Persian Sparabara advances to fill the gap in the centre.
Greek Vs Persian

The Persian right flank Light archers fires missiles first at the opposing Hoplites (thinned line). The Persian Light archers forces to flee the Hoplites (thinned line). No Greeks in reserve.

Turn 3
Greek Vs Persian

The Greek centre Hoplites receives missiles first from the opposing Sparabara. The attacking centre are destroyed. Greek Hoplites from the right flank advances to the centre.
Greek Vs Persian

The Persian right flank Light archers outflanks with missiles the centre Hoplites. Neither inflict significant damage and are locked in combat.

Turn 4
The Greek centre Hoplites receives missiles first from the opposing Sparabara. The Greek Hoplites routs the Sparabara. Persian Light archers from the right flank replaces the centre.
Greek Vs Persian

The Persian right flank Light archers outflanks with missiles the centre Hoplites. No result, still in combat.

Turn 5
The Greek centre Hoplites receives missiles first from the opposing Light archers. The Greek Hoplites destroys the Light archers. No Persians in reserve.
Greek Vs Persian

The Persian right flank Light archers outflanks with missiles the centre Hoplites. Neither force the other to give ground.

Turn 6
The Greek centre Hoplites outflanks the left flank Light archers. Neither inflict significant damage and are locked in combat.
The Persian right flank Light archers outflanks with missiles the centre Hoplites. Neither inflict significant damage and are locked in combat.

Turn 7
The Greek centre Hoplites outflanks the left flank Light archers. The Greek Hoplites forces to flee the Light archers. No Persians in reserve.
Greek Vs Persian

Greeks (attacker) wins!
 
Another close Marathon game with again, all bows Vs all spears.  The majority of this scenario I play (this is about attempt 7) sees the Persians win with first fire bowfire being a bit of an advantage.  So good to see the Greeks bring the games closer to an average 50/50.  This game took 7 turns.  The shortest I have had is 2 and seems the average is 3-4.  7 is very much an outlier.
 
Battle of Plataea 479 BC
Persian attacker, commanded by Xerxes I. Medium Cavalry (left), Sparabara (centre), Mercenary Hoplites (right); in reserve Bowmen (left) Immortals (centre).
Greek defender. Spartan hoplites (right), Hoplites (centre), Hoplites (left); in reserve Spearmen (centre).
 
Turn 1
Persian Vs Greek

The Persian right flank Mercenary Hoplites attacks the opposing Hoplites.


Neither inflict significant damage and are locked in combat.
The Greek right flank Spartan hoplites attacks the opposing Medium Cavalry. Both leave the field of battle! The Cavalry break the hoplites and then pursue them as they rout.  Greek Spearmen from the centre advances to fill the gap in the right flank. Persian Bowmen advances to the left flank.

Turn 2
Persian Vs Greek

The Persian right flank Mercenary Hoplites attacks the opposing Hoplites. Neither force the other to give ground.
The Greek centre Hoplites receives missiles first from the opposing Sparabara. The Greek Hoplites routs the Sparabara. Persian Immortals is directed to the centre.

Turn 3
Persian Vs Greek

The Persian right flank Mercenary Hoplites attacks the opposing Hoplites.


The attacking right flank are destroyed. No Persians in reserve.
Persian Vs Greek

The Greek left flank Hoplites outflanks the centre Immortals. The Greek Hoplites routs the Immortals. No Persians in reserve.
Persian Vs Greek

Greeks (defender) defeats the enemy.
 
This was a great battle to play out – lots of action every dice roll.
 
Battle of Gaugamela (Arbela) 331 BC
Persian attacker, commanded by Darius III. Medium Cavalry (left), Scythed Chariots (centre), Horse Archers (right); in reserve Medium Cavalry (left) Bowmen (centre) Medium Cavalry (right).
Macedonian defender, commanded by Alexander. Thessalian (right), Phalanx (centre), Companions (left); in reserve Peltasts (centre).
 
Turn 1
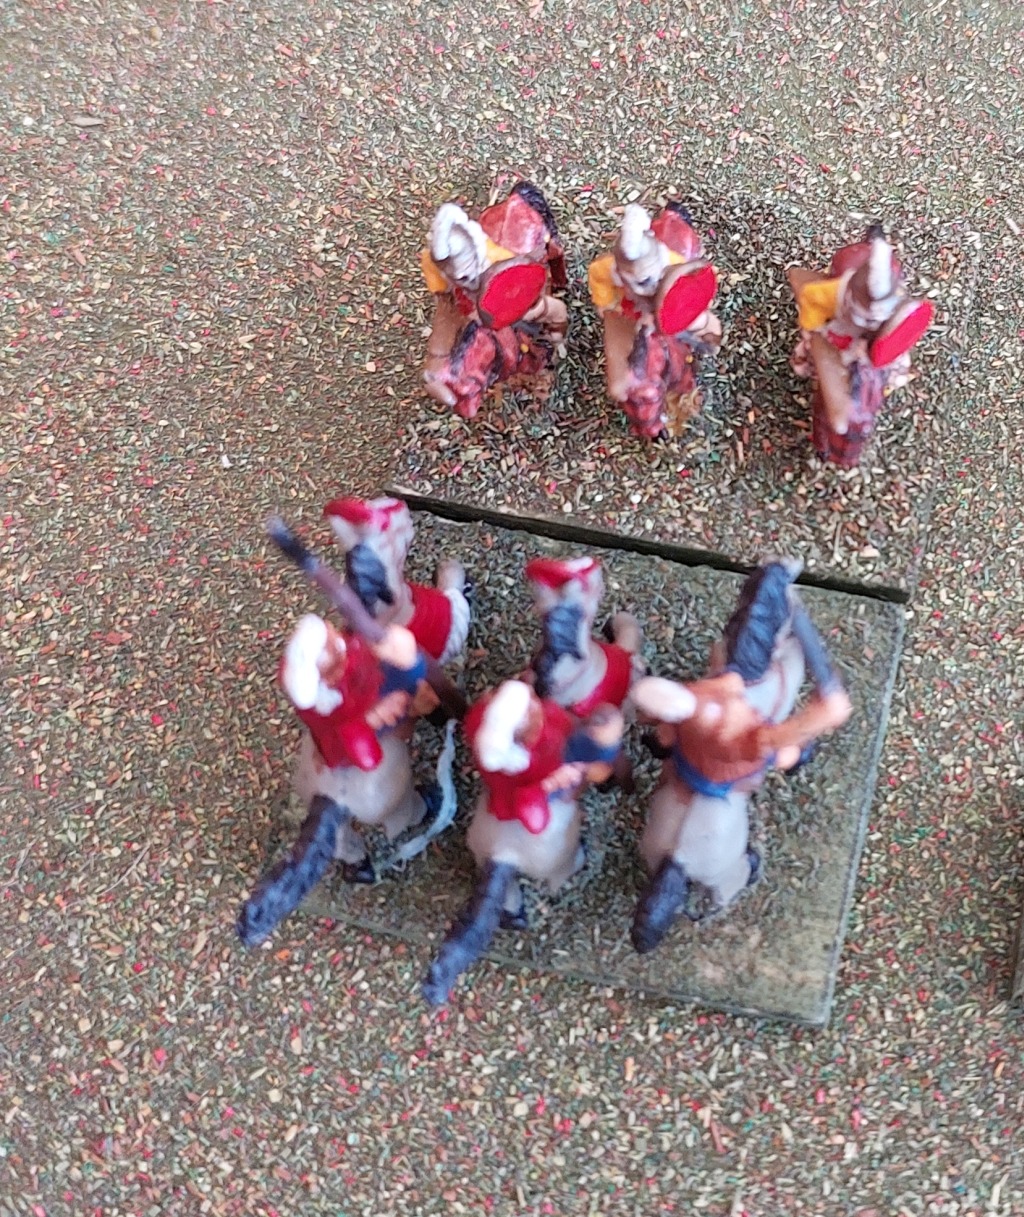
Persian Vs Macedonian

The Persian left flank Medium Cavalry attacks the opposing Thessalian. No effective result and remain in combat.
The Macedonian left flank Companions receives missiles first from the opposing Horse Archers. No result, still in combat.

Turn 2
The Persian left flank Medium Cavalry attacks the opposing Thessalian. The Persian Medium Cavalry destroys the Thessalian. Macedonian Peltasts from the centre is directed to the right flank.
Persian Vs Macedonian

The Macedonian left flank Companions receives missiles first from the opposing Horse Archers. The Macedonian Companions routs the Horse Archers. Persian Medium Cavalry replaces the right flank.

Turn 3
Persian Vs Macedonian

The Persian left flank Medium Cavalry attacks the opposing Peltasts. The attacking left flank are routed. Persian Medium Cavalry replaces the left flank.
Persian Vs Macedonian

The Macedonian centre Phalanx receives missiles first from the opposing Scythed Chariots. No effective result and remain in combat.

Turn 4
The Persian left flank Medium Cavalry attacks the opposing Peltasts. Both are destroyed! Persian Bowmen from the centre advances to the left flank. No Macedonians in reserve.
Persian Vs Macedonian

The Macedonian centre Phalanx receives missiles first from the opposing Scythed Chariots. The attacking Phalanx are routed. No Macedonians in reserve.
Persian Vs Macedonian

Persians (attacker) is victorious!
 
A close game.
 
Battle of Ipsus 301 BC (The Battle of Five Kings)
Antigonid attacker, commanded by Antigonus. Medium Cavalry (left), Pike Phalanx (centre), Medium Cavalry (right); in reserve Horse Archers (left) Elephants (centre).
Seleucid defender, commanded by Seleucus. Medium Cavalry (right), Pike Phalanx (centre), Shock Cavalry (left); in reserve Spearmen (centre) Elephants (left).
 
Turn 1
Antigonid Vs Seleucid


The Antigonid left flank Medium Cavalry attacks the opposing Medium Cavalry. No effective result and remain in combat.
The Seleucid left flank Shock Cavalry attacks the opposing Medium Cavalry.
Both leave the field of battle! Seleucid Elephants advances to fill the gap in the left flank. Antigonid Elephants from the centre is directed to the right flank.

Turn 2
Antigonid Vs Seleucid

The Antigonid right flank Elephants attacks the opposing Elephants. The Antigonid Elephants breaks the Elephants. Seleucid Spearmen from the centre replaces the left flank.
Antigonid Vs Seleucid

The Seleucid right flank Medium Cavalry attacks the opposing Medium Cavalry. No result.

Turn 3
The Antigonid right flank Elephants attacks the opposing Spearmen. The attacking right flank are routed. No Antigonids in reserve.
Antigonid Vs Seleucid

The Seleucid left flank Spearmen outflanks the centre Pike Phalanx. The Seleucid Spearmen routs the Pike Phalanx. Antigonid Horse Archers from the left flank replaces the centre.

Turn 4
Antigonid Vs Seleucid

The Antigonid centre Horse Archers fires missiles first at the opposing Pike Phalanx. No result.
The Seleucid left flank Spearmen outflanks the centre Horse Archers. Neither inflict significant damage and are locked in combat.

Turn 5
The Antigonid centre Horse Archers fires missiles first at the opposing Pike Phalanx. The Antigonid Horse Archers destroys the Pike Phalanx. No Seleucids in reserve.
Antigonid Vs Seleucid

The Seleucid left flank Spearmen outflanks the centre Horse Archers. The Seleucid Spearmen destroys the Horse Archers. No Antigonids in reserve.
Antigonid Vs Seleucid

Seleucids (defender) drives the enemy from the field.
 
A down to the wire game.  And got to see Elephants Vs Elephants!
 
Battle of Heraclea 280 BC
Not in the scenario book, but I play this one a lot so here for completeness.
 
Epirote attacker, commanded by Pyrrhus. Agema (left), Pike Phalanx (centre), Tarantine cavalry (right); in reserve Elephants (left).
Roman defender, commanded by Valerius Laevinus. Roman cavalry (right), Legion (centre), Light Cavalry (left); in reserve Italian Cavalry (right) Italian Allies (centre).
 
Turn 1
Epirote Vs Roman

The Epirote left flank Agema attacks the opposing Roman cavalry.

Both are routed! Epirote Elephants replaces the left flank. Roman Italian Cavalry moves into the right flank.
Epirote Vs Roman

The Roman left flank Light Cavalry exchange missiles with the opposing Tarantine cavalry. The Roman Light Cavalry forces to flee the Tarantine cavalry. No Epirotes in reserve.

Turn 2
Epirote Vs Roman

The Epirote left flank Elephants attacks the opposing Italian Cavalry. The Epirote Elephants routs the Italian Cavalry. Roman Italian Allies from the centre is directed to the right flank.
Epirote Vs Roman

The Roman left flank Light Cavalry outflanks with missiles the centre Pike Phalanx.


The Roman Light Cavalry breaks the Pike Phalanx. No Epirotes in reserve.
Epirote Vs Roman

Romans (defender) drives the enemy from the field.
 
A reversal of history.  While it does seem one-sided it could have easily gone the other way. The joy of Dominion of the Spear!
 
Verdict so far
This has taken 5 weeks to put together so no idea when I may get to the remaining 32 battle reports!   I have all the images and most of the words but need to edit the images and upload everything.

It was fun playing through the 42 battles.  I really want to play them again using a 6x6 grid but finding the time will be hard.  I can see I will continue to use these rules for quick campaign games but playing these rules has inspired me to relook at some 3x3 (and 6x6 and 8x8 lol) rules for ancients based on my ww2 3x4 grid rules.