Tuesday, 17 December 2019

Battle of Zama 202BC using Ancients Battlelines Clash

Introduction
This is game 45 in play testing my ancient rules by replaying historical battles.  The latest version of ‘Ancient Battlelines Clash’ is on its own blog page. I am play testing the rules by replaying all the Peter Sides scenarios from his Historical Battles books.  ABC is designed to finish in around 30 minutes on a 2'x2' table.
I have been slow in play testing these rules for the last few years.  For November 2019 I set a challenge to play the 10 First and Second Punic Wars battles in the book.  This battle is the tenth and last game I managed to play in November.
Back in 2011 I set out a standard deployment to play some small table games with various rules.  It was too ambitious by attempting to represent the lines of infantry for both sides and did not really work at this small scale.  I realised this after playing two games, one with DBA, one with Rally Round the King.  So I moved onto using Heraclea that proved to be quite successful and I replayed it using about 14 different rulesets.  For this replay of Zama, the individual lines are not represented.

Battle of Zama 202BC
The battle that will decide the outcome of the Second Punic War.  Scipio meets Hannibal in Africa.

Internet links used to assist with the scenario:

I also used Phil Sabin’s Lost Battles.


Troops
Roman


4 Hastati/Principes, Heavy Infantry, line relief
2 Triarii, Heavy Infantry, phalanx, elite, line relief
4 Velites, Skirmish Infantry, javelins
1 Veteran Cavalry, Medium Cavalry, elite
3 Numidian Cavalry, light cavalry, javelin
4 Numidian light infantry, light infantry, javelins, poor
Leader with Legion in the centre.
Army control ability +2
Breakpoint: 13

Carthaginian


2 Veterans Heavy Infantry, phalanx, elite
4 Spanish/Celts, Heavy Infantry
2 Skirmishers, Skirmish Infantry, javelins
2 Numidian cavalry, Light Cavalry, javelins
1 Cavalry, Medium Cavalry
2 Elephants
Army control ability +2

Leader with the Veterans in the centre.

Breakpoint: 12

Deployment
  
Romans on the left, Carthaginians on the right. 

All the Numidian light infantry are deployed uncontrolled (so cannot act until the Carthaginians come into range, which is unlikely to occur!).  They are at the leftmost edge of the Roman side.  As in the actual battle, they played no part.

Game
The Romans advance; the Carthaginians do not as with the weaker mounted flanks they do not want to lose the flanks so quickly and potentially leave the centre exposed.

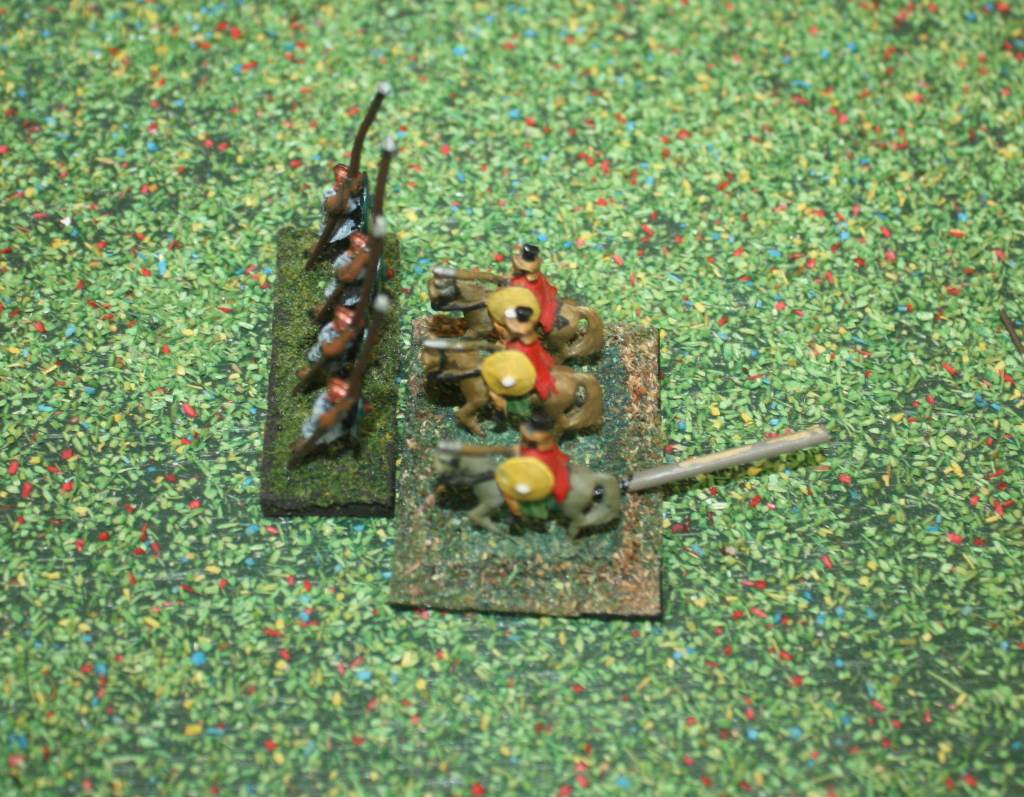
The Roman right cavalry charges into the opposing cavalry.  Both disordered and locked in melee.

Roman right flank: Cavalry on cavalry action. 

The main Roman centre moves into missile range of the Carthaginian skirmishers.  Over a few missile exchanges, all the Velites retire from the field for no loss to the Carthaginians.

The skirmishers are in range.  The Velites will all retire, with no loss to the Carthaginians, in the following missile exchange.

 The skirmishing cavalry meet to exchange missiles.

The clash on the light infantry on the Roman left flank.

 One light cavalry on each side retire.

One light cavalry on each side has had enough. 

On the Roman right, the Roman cavalry get the best of the Carthaginians and the opposing cavalry is routed.  The Romans pursue.

The right flank Roman cavalry defeats the opposition.

 In the centre the legions attack the Elephant and skirmisher line. It might not go well as the Velites were completely useless in doing any damage to this line.

With the Velites gone, the Elephant and skirmish line enter into a fray with the Roman legions.

 Disorders all around, one legionary unit advances once the skirmisher unit opposing was cleared.

Everyone disordered, and the Carthaginian skirmishers are gone,

 The light cavalry skirmish: The Roman cavalry routs and the Carthaginian cavalry pursues; the free light cavalry then about faces and attacks the Carthaginian light cavalry in the rear and forces the Carthaginian light cavalry from the field.  The Romans pursue.

One Roman Cavalry is gone but while that is occurring an unopposed  Roman cavalry charges around to the flank of the Carthaginian light cavalry.

 A bit happens in the centre.  Elephants hang on, the Spanish/Gauls advance to melee with the lone Roman heavy infantry and disorder it.  The Carthaginian veterans move to face the Roman cavalry threat.

Lots going on tin the centre - Elephants still alive, one Roman unit charges the Gauls/Spanish, Carthaginian veteran infantry wheels to protect the flank from the Roman cavalry.

 An Elephant routs, The Triarii is moving to the flanks but otherwise the infantry is locked in melee along a lot of the line.

On the left, the Romans defeat the Elephant and advance.  A Triarii is moving to get onto the flanks.

 The other Elephant is routed.  The Hastati/Principes line is reformed.  The Triarii is assisting on both flanks.  The game could still go either way!  One Spanish/Gallic heavy infantry unit is subsequently lost.

The other elephant routs and now infantry is engaged along the line.  The Triarii are now shoring up the centre flanks

 Another Carthaginian heavy unit is lost.

Carthaginians are losing their heavy infantry.

 The Carthaginian Veterans manage to rout the Roman cavalry, but it is for naught.

The Carthaginian veteran infantry in melee with the Roman Cavalry.  They will subsequently win the melee.
The Carthaginians have reached their breakpoint and the Romans have won!

The end.

Verdict
I put the Carthaginian killed light cavalry with the Roman dead and so miscounted the breakpoints until the last melee when I realised my error.  A really good game and while it is at a very high level and only captures the brushstrokes of the battle it came out OK. It was a closer battle than I thought it would be - a few poor dice rolls by the Romans and it may have gone to the Carthaginians.

On another note, this is the last of the Punic War battles.  I did manage to play all 10 in a month.  I will have to try and continue to play at least a few each month as I do enjoy reading about the historical battles and then replaying them.

Sunday, 15 December 2019

Battle of Illipa 206BC using Ancients Battlelines Clash


Introduction
This is game 44 in play testing my ancient rules by replaying historical battles.  The latest version of ‘Ancient Battlelines Clash’ is on its own blog page. I am play testing the rules by replaying all the Peter Sides scenarios from his Historical Battles books.  ABC is designed to finish in around 30 minutes on a 2'x2' table.
I have been slow in play testing these rules for the last few years.  For November 2019 I set a challenge to play the 10 First and Second Punic Wars battles in the book.  This battle is game 9 of the 10 I managed to play in November.

Battle of Illipa 206BC
With the last Carthaginian army left in Spain, Hasdrubal Gisgo and Mago fight Scipio for control.

Some internet links I used for the scenario:

I also used Phil Sabin’s Lost Battles.

Troops

Roman


4 legionaries, Heavy Infantry
4 Allies, Heavy Infantry
4 Velites, Skirmish Infantry, javelins
1 Cavalry, Medium Cavalry
1 Veteran Cavalry, Medium Cavalry, elite
Leader with LG on right.
Army control ability +2
Breakpoint: 11

Carthaginian


4 Spanish/Africans, Heavy Infantry
4 Ligurians, Heavy Infantry
4 Skirmishers, Skirmish Infantry, javelins
1 Numidian cavalry, Light Cavalry, javelins
1 Cavalry, Medium Cavalry
1 Elephant, ELE
Leader with the Spanish/Africans in the centre.

Breakpoint: 11

Scenario changes
I represented fatigue in my rules in that once disordered, a unit received a -2 modifier, not a -1.

Deployment

Deployment - Romans on the left.

Game
Both sides advance.  The Carthaginian elephant get close enough to a Velite unit to cause it to fire at the elephant.  Fire has no effect, and the Velites decide to retire from the battle.  It does mean the Elephant charges straight into a legion unit. The elephant does badly (rolled a 1) and is disordered.

The Carthaginian elephant gets into combat quickly.  It routs shortly after.

On the Roman turn the Cavalry charge the Numidians that fire (for no effect) and evade.

On the Roman right the Roman cavalry and the Numidian cavalry are skirmishing.

The Elephant is not going to go well, now disordered (and fatigued) and doesn’t get the charge bonus this turn.  If the Romans roll a 1 that would be great for the Elephants.  But they roll a 2 and the Elephant routs.  The Romans do not pursue.

The lines are closer, only the Elephant has been a casualty.

The centre Roman Allies advance against the Carthaginians. The skirmisher clash sees one unit disordered before the skirmishers all retire.  The other Allied units charge into the Carthaginians.

The Roman infantry charge the opposing Carthaginian 

Most are disordered.  Disorder is worse for the Carthaginians as the scenario rule for fatigue sees a -2 modifier for disorder, rather than -1.

The left centre Roman heavy infantry charges. Next turn the Carthaginians do nothing and this will force the skirmishers to fire and delay combat with the Roman Heavy infantry.

The left of centre is a skirmish clash. 

The Roman left flank heavy cavalry impetuously charges against the Carthaginian heavy cavalry.  The Carthaginian unit is disordered.

The Roman left cavalry meets the opposing Carthaginian cavalry.

And then routs, the Romans pursuing.

The Carthaginian cavalry eventually routs and the Romans pursue.

Tragedy for the Carthaginians in the centre.  Unlucky dice rolls (lots of 1s) sees three heavy infantry units rout.  To offset this they got lucky and routed a Roman unit.

The Carthaginians lose three heavy infantry units, the Romans lose only one in return.

The Numidians fire on the Roman cavalry and disorder them.  The Romans charge the Numidians that fire and evade.  Their fire is effective and the Romans retire from the battle!  (a few lucky rolls here)

On their tight flank the Romans are disordered by the Numidian missile fire.

In the centre, the Roman unit that did not charge now charges and one more Carthaginian heavy infantry is routed.

Another Carthaginian heavy infantry routs.

On the Roman left side of the battlelines, the skirmisher manages to disorder both opposing heavy infantry! (And I realised after the game I was playing my own rules wrong – have no idea what made me do so.  Only one unit can be adversely affected by one unit firing at two, and the second Carthaginian unit should have reacted by charging the skirmishers.  Ah well, at least this error it did not affect the outcome of the game.)  The Roman cavalry are getting into position to attack the Carthaginians in the rear.

The left Roman centre is still not in melee.  The Roman Cavalry is in the rear of the Carthaginian lines.

On the Roman right, the leaders clash but are both disordered.

On the Roman right it is leader Vs leader but still locked in melee.

In the centre, another Carthaginian heavy infantry unit is routed.

The Carthaginian centre collapses.

The Carthaginians have reached their breakpoint and the Romans win.

The Romans win.

Verdict
An interesting game.  The fatigue rules of the extra -1 for disorder had a huge effect.  In the rules a difference of 1 in melee is a big deal and so where normally there would have been a lot of blood shed on both sides, it was mostly the Carthaginians where it occurred.  The takeaway is to not fight fatigued!

Saturday, 7 December 2019

Battle of Metaurus 207BC using Ancients Battlelines Clash

Introduction
This is game 43 in play testing my ancient rules by replaying historical battles.  The latest version of ‘Ancient Battlelines Clash’ is on its own blog page. I am play testing the rules by replaying all the Peter Sides scenarios from his Historical Battles books.  ABC is designed to finish in around 30 minutes on a 2'x2' table.
I have been slow in play testing these rules for the last few years.  For November 2019 I set a challenge to play the 10 First and Second Punic Wars battles in the book.  This battle is game 8 of the 10 I managed to play in November.

Battle of Metaurus 207BC
One of the most important battles of the Second Punic War, Hasdrubal Barca has led his troops from Spain into Italy to reinforce his brother Hannibal.   After a series of misfortunes, Hasdrubal is forced to fight the Romans in Northern Italy.

This is the Wikipedia internet link:

Troops
Roman


4 legionaries, Heavy Infantry
4 Allies, Heavy Infantry
4 Velites, Skirmish Infantry, javelins
3 Cavalry, Medium Cavalry
Leader with a legion on left.
Breakpoint: 11

Carthaginian

3 Spanish/Africans, Heavy Infantry
2 Ligurians, Heavy Infantry
2 Gauls, Heavy Infantry, warband, poor
2 Skirmishers, Skirmish Infantry, javelins
1 Numidian cavalry, Light Cavalry, javelins
1 Gallic Cavalry, Medium Cavalry
1 Elephant, poor
Leader with the Cavalry.

Breakpoint: 11

Gauls are rated poor due to poor performance in the battle.
Elephant is rated poor as there was only 10 of them present.

Scenario changes
I moved Nero (leader) from the right to the left, effectively starting the battle when Nero moved from the right flank to the left.

Deployment
Romans on the left, Carthaginians on the right.
The stream is crossable, -1 to movement.  Banks are defendable, giving a melee bonus.

Game
Both sides advance.

Both side advance.

The Romans engage first in the centre, skirmisher lines clashing first.

Centre skirmish clash.

The Roman left side of the line advances into combat with the Heavy Infantry but no breakthroughs.

The left side of the Roman infantry line is engaged.

The Carthaginian mounted charge the opposing Roman cavalry.  A Roman cavalry retreats from the Elephant, the rest are disordered.

The Carthaginian mounted charges the Roman cavalry.  One Roman cavalry retreats from the elephant.

The Elephant routs an opposing cavalry and pursues (When writing this up I realised the Elephant is poor and rolled one less than required to rout the opposing cavalry.  Ah well, it was still possible to rout the cavalry so will not worry.).

One Roman cavalry unit is routed.

In the centre a Heavy infantry is routed.  The remaining Velites fire at the heavy infantry that cause no damage.  The Carthaginian heavy infantry charge into the Roman Heavy infantry.  Some disorders.

The whole heavy infantry line on both sides is now engaged.  One Carthaginian unit lost.

Roman cavalry is all routed.

Roman cavalry cleared from that flank.

In the centre, the Carthaginian right collapses and is wide open to the Romans.  One of the legions is racing for the Gauls.

The Carthaginian centre right collapses and the Romans advance.

The legions cross the stream and attack the Gauls.  Everyone is disordered.  The Gauls will now be at a disadvantage being poor and subsequent turns while disordered.  But they are defending the steam bank.

The legions are sent over the stream to attack the Gauls and hopefully defeat them before the Carthaginian cavalry rolls up the Roman line.

The Carthaginian cavalry, having cleared the flank now closes in on the centre.

The Roman mounted has turned and racing for the Roman units!

The Carthaginians lose another heavy infantry in the centre.

The Romans rout another Carthaginian heavy infantry unit.

A Gaul unit is lost but things are hectic with the Romans desperately trying to rearrange their heavy units to be able to contact the enemy.  The Carthaginian cavalry though is faster.

The Carthaginian cavalry is getting closer, but the Romans are also closing in on the Gauls.

Carthaginian cavalry charges in the rear of a Roman Heavy infantry.  Gone.

Heavy cavalry in the rear of the Romans! 

Pursues and charges into another one in the rear.  Gone.

The legion is routed.  But the next one manages to hold on (lucky).

A Roman unit manages to charge into the flank of the Gauls and it is routed. 

A Gallic unit is routed and the Carthaginian army retires.

The Carthaginians reach their army breakpoint and the Romans win!  Only just - the Romans were one unit away from breaking themselves.

The end game.  It was a very close game.

Verdict
Another close game.  And fun.  I could see myself playing this one again sometime as it could easily go badly for the Romans.